
This 3 Ingredient Biscuit Recipe was prompted by Laura Trotta’s Self Sufficiency In The Suburbs membership group I’m part of. There was a challenge to use things that have been in your pantry for ages, and I’ve had a can of condensed milk sitting in the pantry for a year. I have been put off doing anything with the condensed milk because it has 55g of sugar per 100g in the tin – that’s 55.2 teaspoons of sugar! But the challenge was the kick up the bum I needed to do something with it.
My freezer supply for lunchbox snacks was low so I decided to google condensed milk recipes. I came across these recipes on Taste.com.au and Stay At Home Mum. Both had extra sugar added which I felt was overkill for where my family’s sugar taste buds are at now days, and both used too much butter for my own liking. So I modified it to make this 3 Ingredient Biscuit Recipe. It makes 50 biscuits which you can put in the freezer, then pop into the lunchbox as needed. Each biscuit contains around 1 teaspoon of sugar from the condensed milk, not ideal but it’s not an everyday food so I am ok with that.
I have provided a heap of ideas on how you can flavour these biscuits so the batch becomes a mixed batch. Do watch what you add to create your flavours as this may increase the sugar content.
Ingredients
- 375g butter
- 395g condensed milk
- 4 cups self raising flour (I used Orgran Gluten Free)
Note: If your school allows nuts, I recommend adding in 1/2 cup of LSA and only 3.5cups of self raising flour. The LSA will add more nutrition to the biscuits.
Method
- Cream butter
- Add condensed milk and mix until smooth (OMG this tastes so good on it’s own)
- Add in half the flour and mix well
- Add rest of flour and mix well
- Then divide the dough into batches to make your own flavours – note, this is a sticky dough so use slightly moist hands to handle. I divided the dough into 4 batches so had about 12 of each flavour. You can do more or less. I have provided some flavour ideas below but maybe even ask your kids to make up flavours
- Preheat oven to 180 degrees
- When you’ve got your flavours sorted, take a spoonful of dough and roll into a ball (about the size of a ping pong ball), then place the balls on a lined baking tray leaving room for them to spread
- Now wet a fork, and use the back of the fork to slightly flatten the ball – you’ll get the lines from the fork in the dough. If you prefer them not to have this, just use moistened fingers to flat the dough a little
- Bake in batches for 15 -18 minutes, remove from tray with an egg slide and then allow to cool on a wire rack
Flavour Ideas
Add these flavours to 1/4 of the dough.
Vanilla Maple
Add 1-2 teaspoons of vanilla paste and a tablespoon of maple syrup. Mix well
Sweet Sultana
Add 1/2 cup sultanas, mix well. Flatten then sprinkle with a tiny amount of Billingtons golden caster sugar
Lemon Cheesecake
Add juice of 1/2 lemon and zest of one lemon, mix well. Save a little of the zest to sprinkle on the top. Flatten and sprinkle with remaining zest
Cinnamon Banana
Add 1 mashed banana and 1 tspn of cinnamon. Mix well. If your school allows nuts, some chopped walnuts would go well in these too
Double Chocolate
Add 1/2 cup of cacao powder, mix well, stir through 1/4 cup cacao nibs. Instead of the cacao nibs, you could use chocolate drops – just read the ingredients first and make sure all your hard work of making home made biscuits is not messed up with additives and preservatives in the chocolate drops.
Berry Choc Chunk
I added in 2 tablespoons of Nutra Organics Berry Choc Chunk Powder. I like to use this to add chocolate flavour to my smoothies and cakes from time to time because it includes calcium, magnesium, B vitamins derived from natural whole foods.
Peanut Butter
If you can have nuts at school, great. If not, these are yum so make some for home. Add 3/4 cup of 100% Peanut Butter. and mix well.
These are all the flavours I have personally made but there are loads more. Check out the Stay At Home Mum post for different flavour idea too.
Storing / Freezing
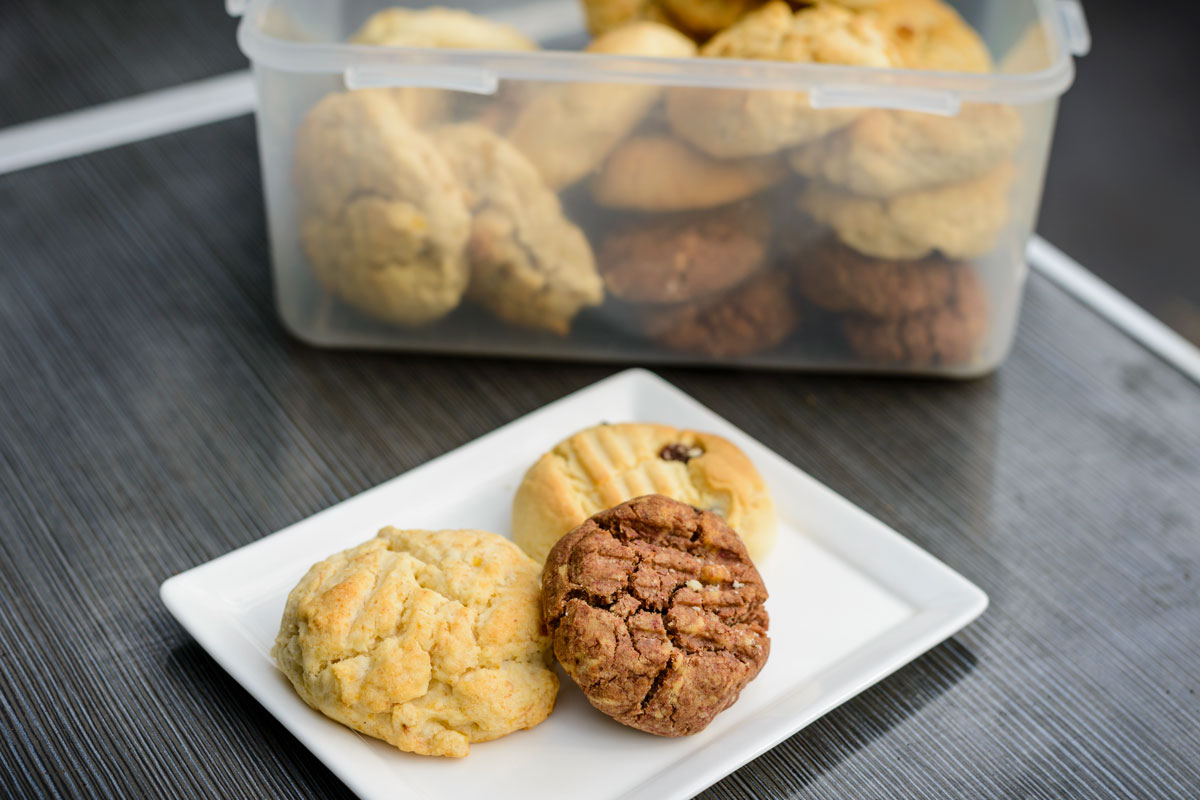
These are so cheap to make. Store them in an airtight container, and freeze. Pull out and pop straight into the lunchbox – too easy!
If you don’t want to cook all of these up at once, roll the dough into a log shape and wrap in some baking paper, twisting at the ends. Then store in the freezer. When you’re ready to cook, just slice the dough straight from the freezer, and cook.
Just a reminder, you don’t need to be a master chef, or have a big spotless kitchen to make awesome nutritious meals or snacks for your family.